|
|
6 lat temu | |
|---|---|---|
| .vscode | 6 lat temu | |
| docs | 6 lat temu | |
| examples | 6 lat temu | |
| src | 6 lat temu | |
| .gitattributes | 6 lat temu | |
| .gitignore | 6 lat temu | |
| LICENSE | 6 lat temu | |
| README.md | 6 lat temu | |
| keywords.txt | 6 lat temu | |
| library.json | 6 lat temu | |
| library.properties | 6 lat temu |
README.md
Push OTAs to ESP8266 Elegantly (Async)!
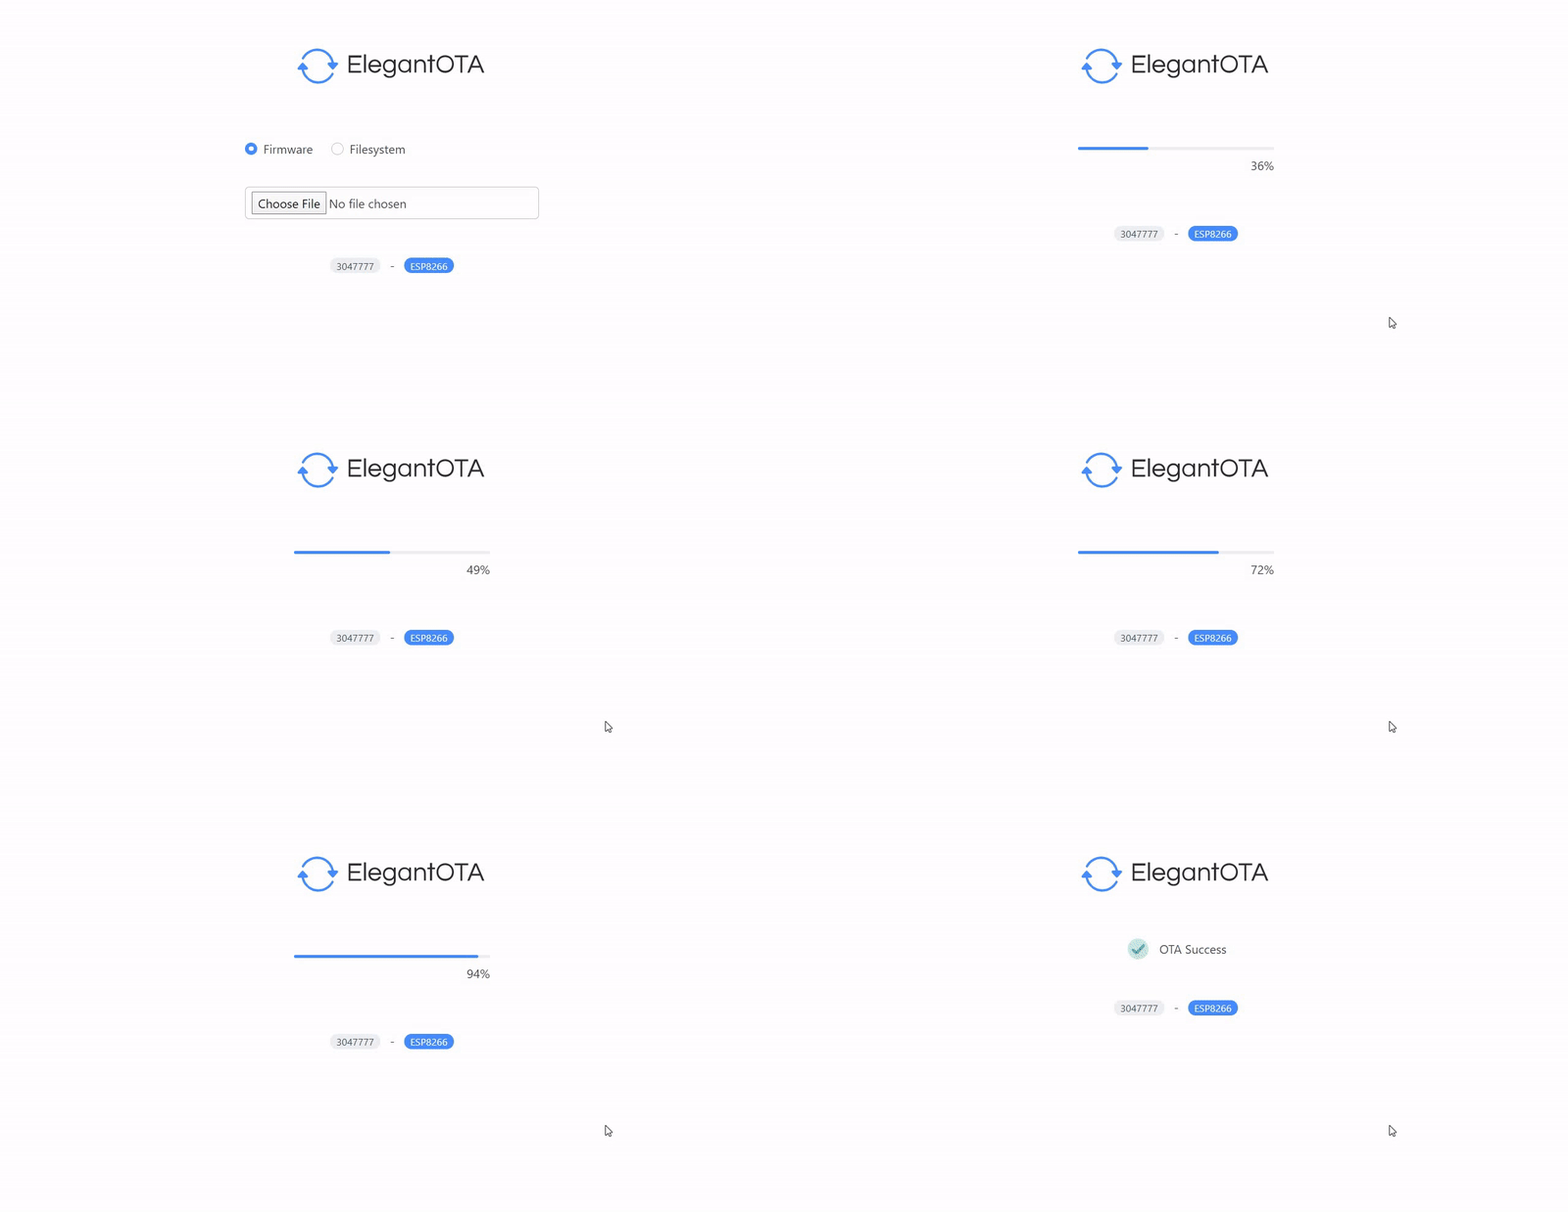
AsyncElegantOTA provides a beautiful interface to upload Over the Air `.bin` updates to your ESP Modules with precise status and progress displayed over UI. This Library shows the current upload progress of your OTA and once finished, it will display the status of your OTA. This Version of Library uses AsyncWebServer. Thanks to @me-no-dev for a wonderful webserver library.
Preview
How to Install
Directly Through Arduino IDE ( Currently Submitted for Approval. Use Mannual Install till it gets Approved.)
Go to Sketch > Include Library > Library Manager > Search for "ElegantOTA" > Install
Manual Install
For Windows: Download the Repository and extract the .zip in Documents>Arduino>Libraries>{Place "ElegantOTA" folder Here}
For Linux: Download the Repository and extract the .zip in Sketchbook>Libraries>{Place "ElegantOTA" folder Here}
Manually through IDE
Download the Repository, Go to Sketch>Include Library>Add .zip Library> Select the Downloaded .zip File.
Documentation
AsyncElegantOTA is a dead simple library which does your work in just 1 Line. Honestly, It's just a wrapper library which injects it's own elegant webpage instead of the ugly upload page which comes by default in Arduino Library.
Include AsyncElegantOTA Library `#include ` at top of your Arduino Code. Paste this - `AsyncElegantOTA.begin(server);` line above your `server.begin();` That's all! Now copy the IPAddress displayed over your Serial Monitor and go to `http:///update` in browser. ( where `` is the IP of your ESP Module)Example
#include <ESP8266WiFi.h>
#include <Hash.h>
#include <ESPAsyncTCP.h>
#include <ESPAsyncWebServer.h>
#include <AsyncElegantOTA.h>

const char* ssid = "........";
const char* password = "........";

AsyncWebServer server(80);


void setup(void) {
  Serial.begin(115200);
  WiFi.mode(WIFI_STA);
  WiFi.begin(ssid, password);
  Serial.println("");

  // Wait for connection
  while (WiFi.status() != WL_CONNECTED) {
    delay(500);
    Serial.print(".");
  }
  Serial.println("");
  Serial.print("Connected to ");
  Serial.println(ssid);
  Serial.print("IP address: ");
  Serial.println(WiFi.localIP());

  server.on("/", HTTP_GET, [](AsyncWebServerRequest *request) {
    request->send(200, "text/plain", "Hi! I am ESP8266.");
  });

  AsyncElegantOTA.begin(server);    // Start ElegantOTA
  server.begin();
  Serial.println("HTTP server started");
}

void loop(void) {

}


